
Garage Door Las Vegas Nevada These brackets are designed to provide additional support and stability to the horizontal tracks, reducing stress on the door and opener mechanism.
Here’s a step-by-step guide on how to install quick turn garage door brackets:
1. Gather Materials and Tools: Before you begin, gather the necessary materials and tools for the installation:
- Quick turn garage door brackets (usually sold in pairs)
- Lag screws or bolts (included with the brackets)
- Drill with appropriate drill bits
- Socket wrench or impact driver
- Level
- Step ladder or platform
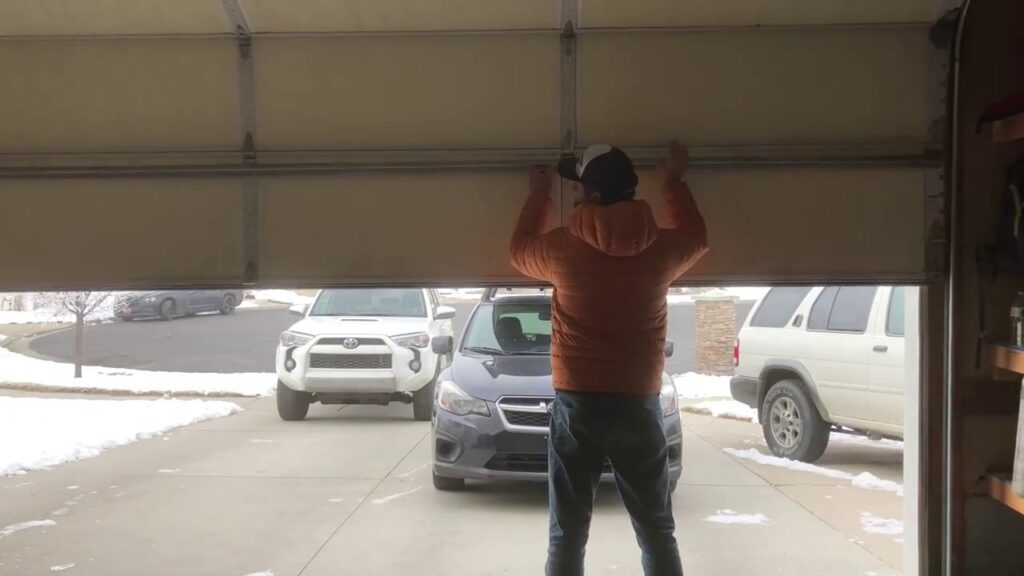
2. Prepare the Work Area: Ensure that the area around the garage door tracks is clear and free of any obstructions. Place a step ladder or platform beneath the horizontal tracks to provide safe and convenient access during the installation process.
3. Identify the Proper Location: Locate the section of the horizontal tracks where the quick turn brackets will be installed. These brackets are typically placed near the ends of the horizontal tracks, where they connect to the vertical tracks or angle iron supports.
4. Position the Brackets: Hold one quick turn bracket against the side of the horizontal track, aligning it with the end of the track and ensuring that it sits flush against the wall. Use a level to check that the bracket is plumb and straight.
5. Mark the Hole Locations: With the bracket in position, use a pencil or marker to mark the locations of the mounting holes on the wall. Typically, quick turn brackets have three mounting holes: one at the top, one in the middle, and one at the bottom.
6. Pre-Drill the Holes: Using a drill with an appropriate drill bit size, pre-drill holes at the marked locations on the wall. The drill bit should be slightly smaller in diameter than the lag screws or bolts included with the brackets.
7. Attach the Brackets: Position the quick turn bracket against the wall again, aligning it with the pre-drilled holes. Insert the lag screws or bolts through the bracket holes and into the pre-drilled holes in the wall.
8. Secure the Brackets: Using a socket wrench or impact driver, tighten the lag screws or bolts securely to the wall. Ensure that the bracket is firmly attached and does not wobble or move when pressure is applied.
9. Repeat for the Opposite Bracket: If installing a pair of quick turn brackets, repeat the process to install the second bracket on the opposite side of the horizontal track. Ensure that both brackets are aligned properly and securely attached to the wall.
10. Test the Door: After both quick turn brackets are installed, test the garage door to ensure that it operates smoothly and without any issues. Open and close the door several times to check for proper alignment and stability.
11. Make Adjustments if Necessary: If the door does not operate smoothly or if there are any issues with alignment, adjust the quick turn brackets as needed. Loosen the mounting screws or bolts slightly and reposition the brackets until the door operates smoothly.
12. Final Inspection: Once the installation is complete and the door operates smoothly, inspect the quick turn brackets and mounting hardware to ensure that everything is secure and properly tightened. Make any final adjustments or corrections as needed.
Garage Door Las Vegas Nevada If you’re unsure about any aspect of the installation process, consult the manufacturer’s instructions or seek assistance from a qualified professional.
All Good Garage Doors
494 Cape Alan Dr, Henderson, NV 89052, USA
702-343-2252
https://maps.app.goo.gl/Ra96tSSbVGCtGmSj7